Trade show floor plan: how to lay out stands, aisles and zones, with a template
How to design an exhibition floor plan: venue rules, aisle widths, booth sizes, zones and numbering, plus a trade show floor plan template to fill in.
By Moultaka team
A good trade show floor plan is built in a fixed order: the venue’s constraints first, then the aisles, then the stands, and the prices last. Reverse it and you sell stands the venue will make you move a month before opening. This guide takes an exhibition floor plan from an empty hall to something your sales team can sell from, with the dimensions to check and a template you can fill in today.
Start from the real hall
Ask the venue for its current dimensioned drawing, and check the date on it. Mark these on it before you draw a single stand:
- emergency exits and the clearance each one needs;
- columns, fire equipment and floor hatches;
- loading doors and the route trucks take;
- power and water points;
- ceiling height and floor load, if heavy machines are coming.
Advice carried by UFI, the global association of the exhibition industry, warns against creating a floor plan “in abstract”. The stands you imagine on a blank grid rarely survive the first column they meet.
Venue rules come before your stands
There is no universal aisle width. Your venue and its fire authority set it. Two venues, as their own sites stated on 3 November 2026, show the kind of rule to expect:
- Moscone Center, San Francisco: a minimum of 10 feet between rows of booths, with floor plans submitted for final approval at least 60 days before the event.
- Austin Convention Center: aisles at least 10 feet wide, no more than 200 feet of travel to the nearest exit, and dead-end corridors no longer than 20 feet.
Those numbers do not apply to your hall. They tell you what to ask. Get these four answers in writing: the minimum aisle width, the maximum distance to an exit, who approves the plan, and by what date.
Which booth sizes should you sell?
Most shows sell space in modules. A widespread unit is 3 x 3 m (9 m²) or, in the United States, 10 x 10 feet. Larger stands are multiples of it. The module keeps the plan readable and lets two neighbouring stands become one when an exhibitor wants to grow.
Choose your mix from last edition’s sales, not from the size of the hall. How many of each size sold? Which stayed empty? Who asked for more space and did not get it? A show of small companies sells mostly single and double modules. A machinery show needs large raw-space plots and loading access to match.
Open sides matter as much as square metres:
| Stand type | Open sides | Typical use |
|---|---|---|
| Inline | 1 | Most exhibitors, first-time participants |
| Corner | 2 | Exhibitors who want more visibility |
| Peninsula | 3 | The end of a row, larger stands |
| Island | 4 | Anchor exhibitors, machinery |
Draw the aisles before the stands
The same advice names one thing to get right first: a central aisle. Draw it from the entrance to the back of the hall, wider than the others. Add secondary aisles and at least one cross aisle, so nobody has to walk back the way they came.
Then trace a visitor’s route with your finger:
- What do they see as they walk in? A solid wall of stands hides the rest of the hall.
- What brings them to the back? A conference theatre, the B2B meetings area or catering can do it, and the back stands get easier to sell.
- Is there a dead end left? It is a safety question first, and the exhibitors stuck in it will notice too.
Where anchors, pavilions and services go
Spread your largest exhibitors through the hall instead of packing them by the entrance. Each one pulls visitors down an aisle that would otherwise stay quiet, and that makes the stands around it easier to sell.
Place the rest by flow:
- Registration and badges go by the entrance, with room for a queue that does not spill into the first aisle.
- Country pavilions and sectors stay in one block, so a buyer can find a whole sector without crossing the hall.
- Conference and meeting areas go away from loud product demonstrations.
- Catering, prayer rooms and toilets stay close enough that exhibitors can leave their stand briefly.
- Build-up routes stay wide enough for trucks until move-in ends.
Count your sellable space
The gross area of a hall is not what you will sell. Aisles, services, columns and exit clearances take a large share, and that share changes from venue to venue, so be wary of a general percentage. Once the plan is drawn, add up the stand areas and compare the total with your last edition.
That total, at your rates, is your maximum stand revenue, and the first line of your trade show budget. It is better to learn it does not cover your costs before you sign the hall.
Number once, and leave it alone
A stand number travels quickly: into the contract, the invoice, the fascia sign, the furniture orders, the published plan, staff badges and the visitor guide. Change it after sales open and you create errors in all of them.
Pick a simple logic, a letter per hall followed by a number, and keep it. If a stand splits, add a suffix (A12 and A12b) rather than renumbering the row.
A trade show floor plan template
Have each owner fill this in before anyone draws. One page here saves a lot of redrawing later.
| Item | What to decide | Who approves |
|---|---|---|
| Venue drawing | Version, date, scale | Venue |
| Safety | Exits, clearances, minimum aisle width, distance to an exit | Venue and fire authority |
| Aisles | Main, secondary, cross aisles | Show director, then venue |
| Stands | Number, dimensions, open sides | Show director |
| Zones | Sectors, pavilions, conferences, meetings, catering | Show director |
| Services | Power, water, storage, registration and badges | Operations |
| Sales | Rates, status of each stand, exhibitor | Sales team |
| Build-up | Access, arrival order, hours | Operations |
Get the venue’s approval before you publish, and put the date on every version.
From a drawing to a plan that sells
An approved plan keeps moving. Exhibitors ask for a corner, two stands merge, a pavilion signs late. With a PDF, every change is a new version, and that is how the same stand gets sold twice.
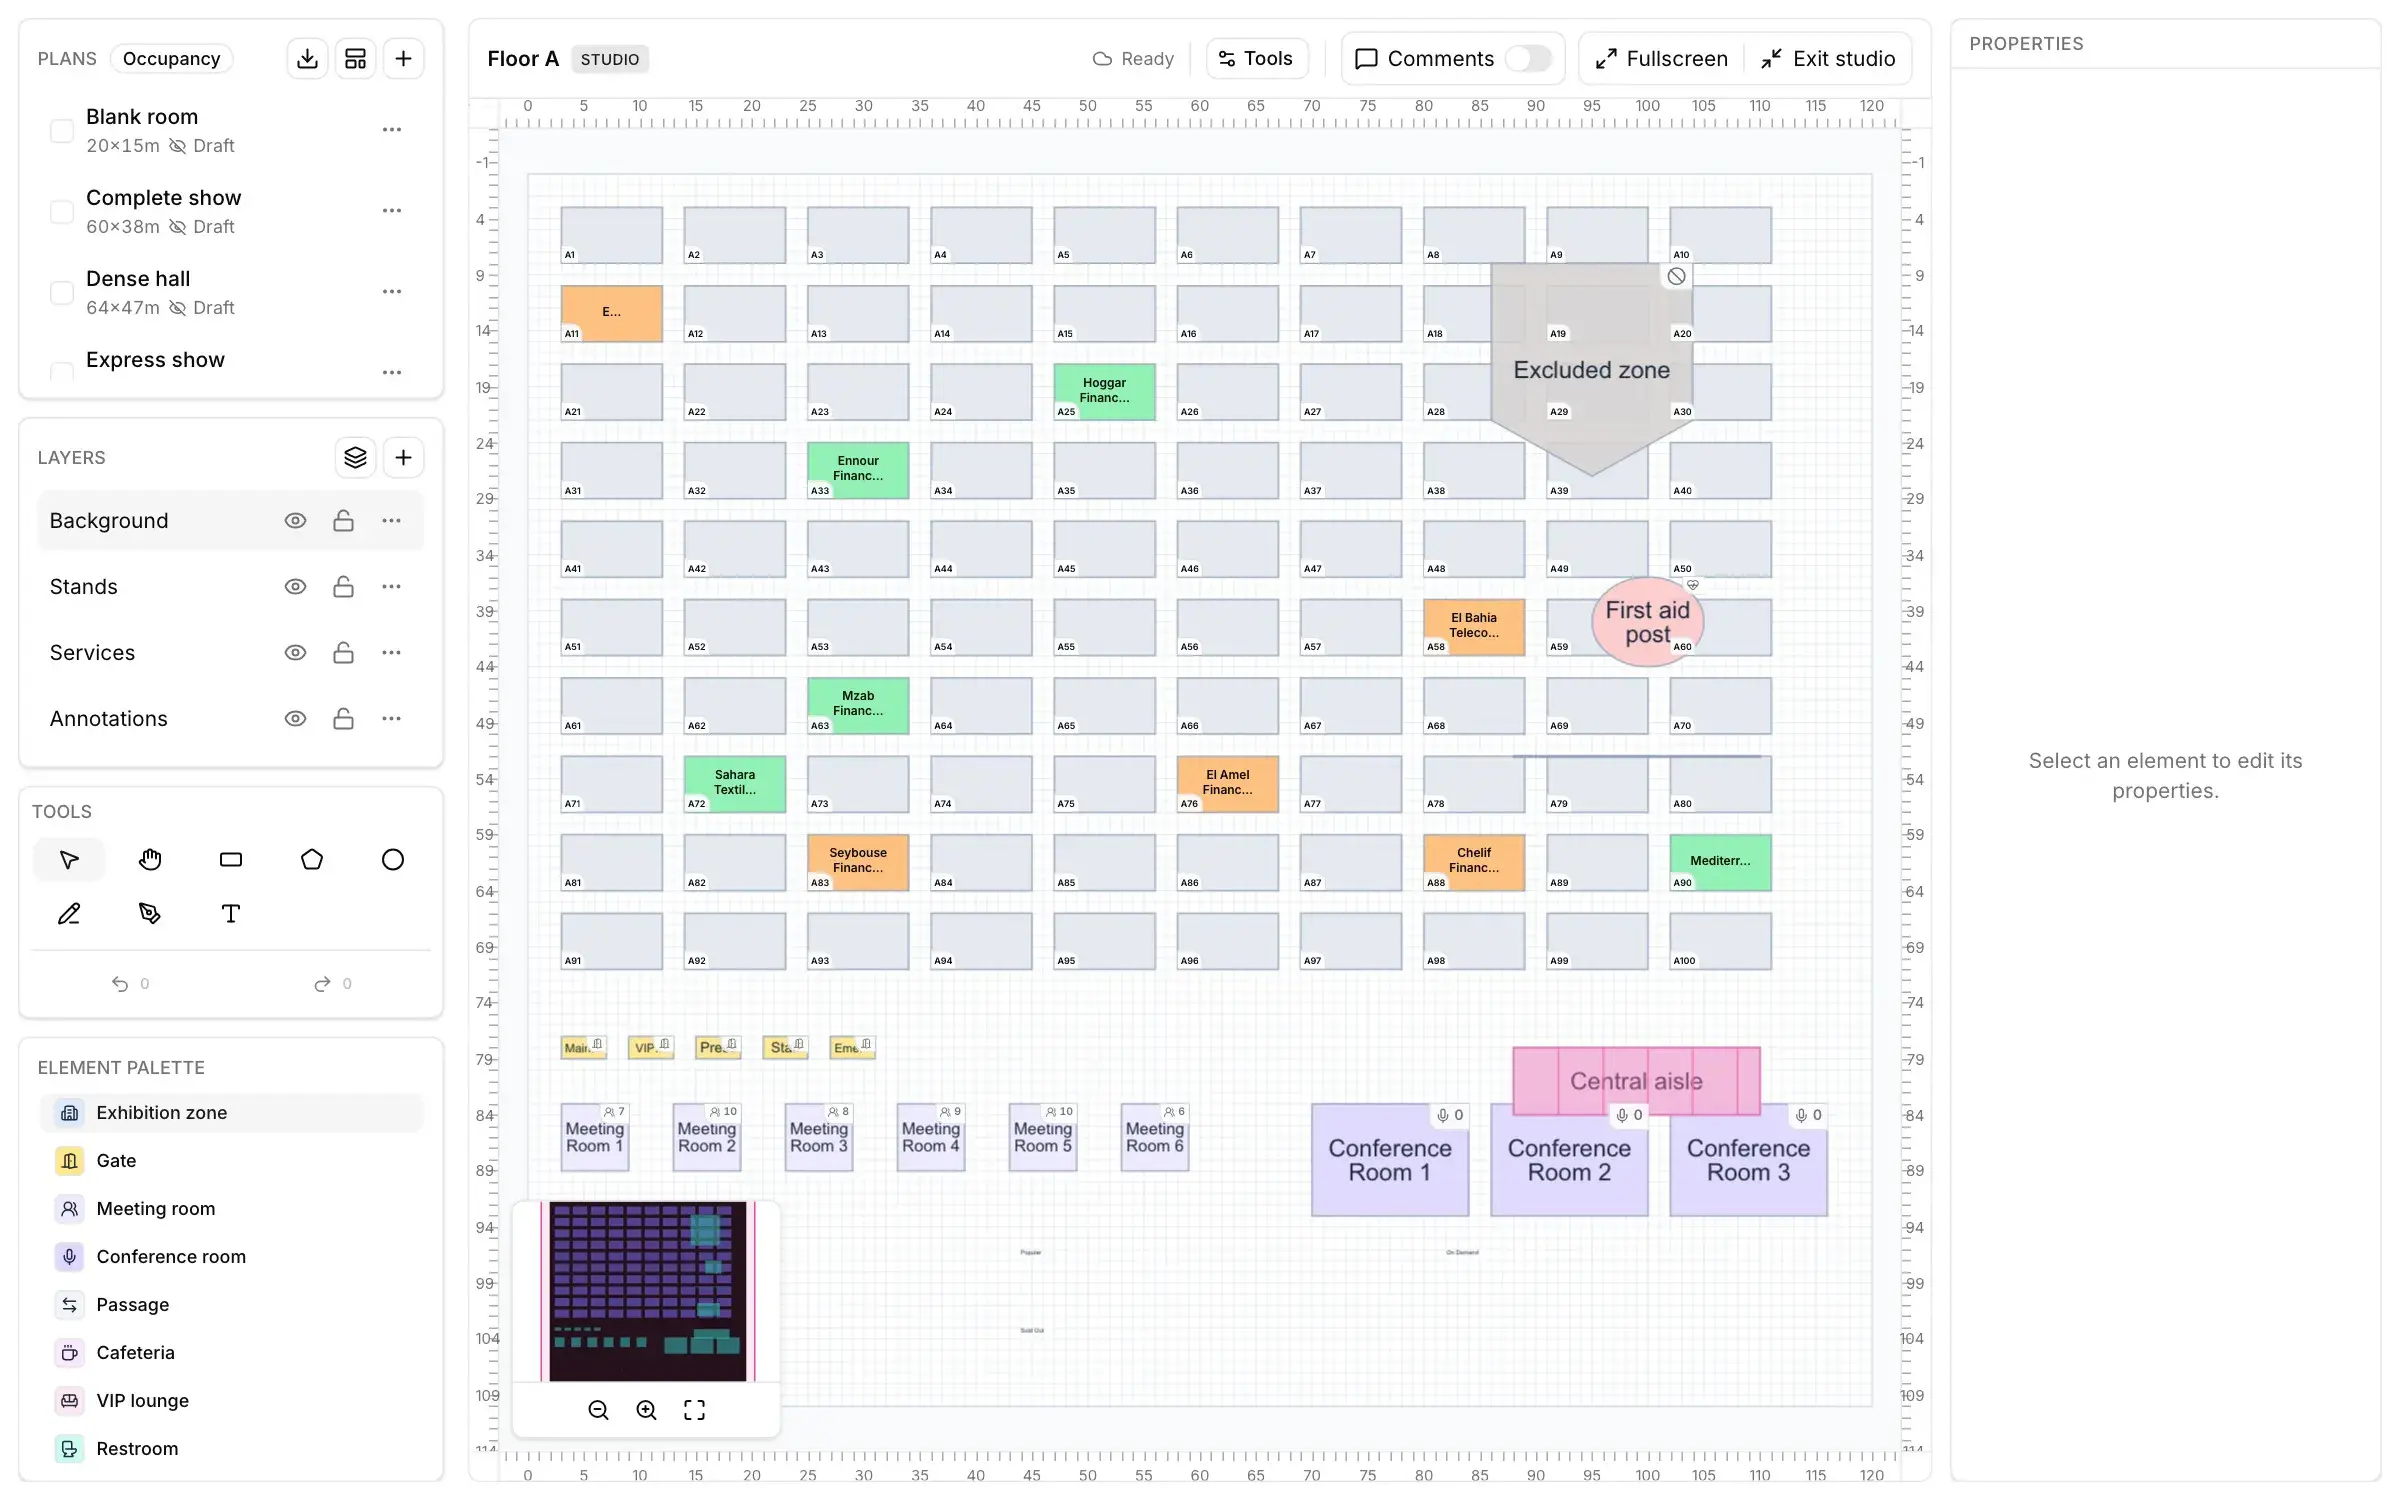
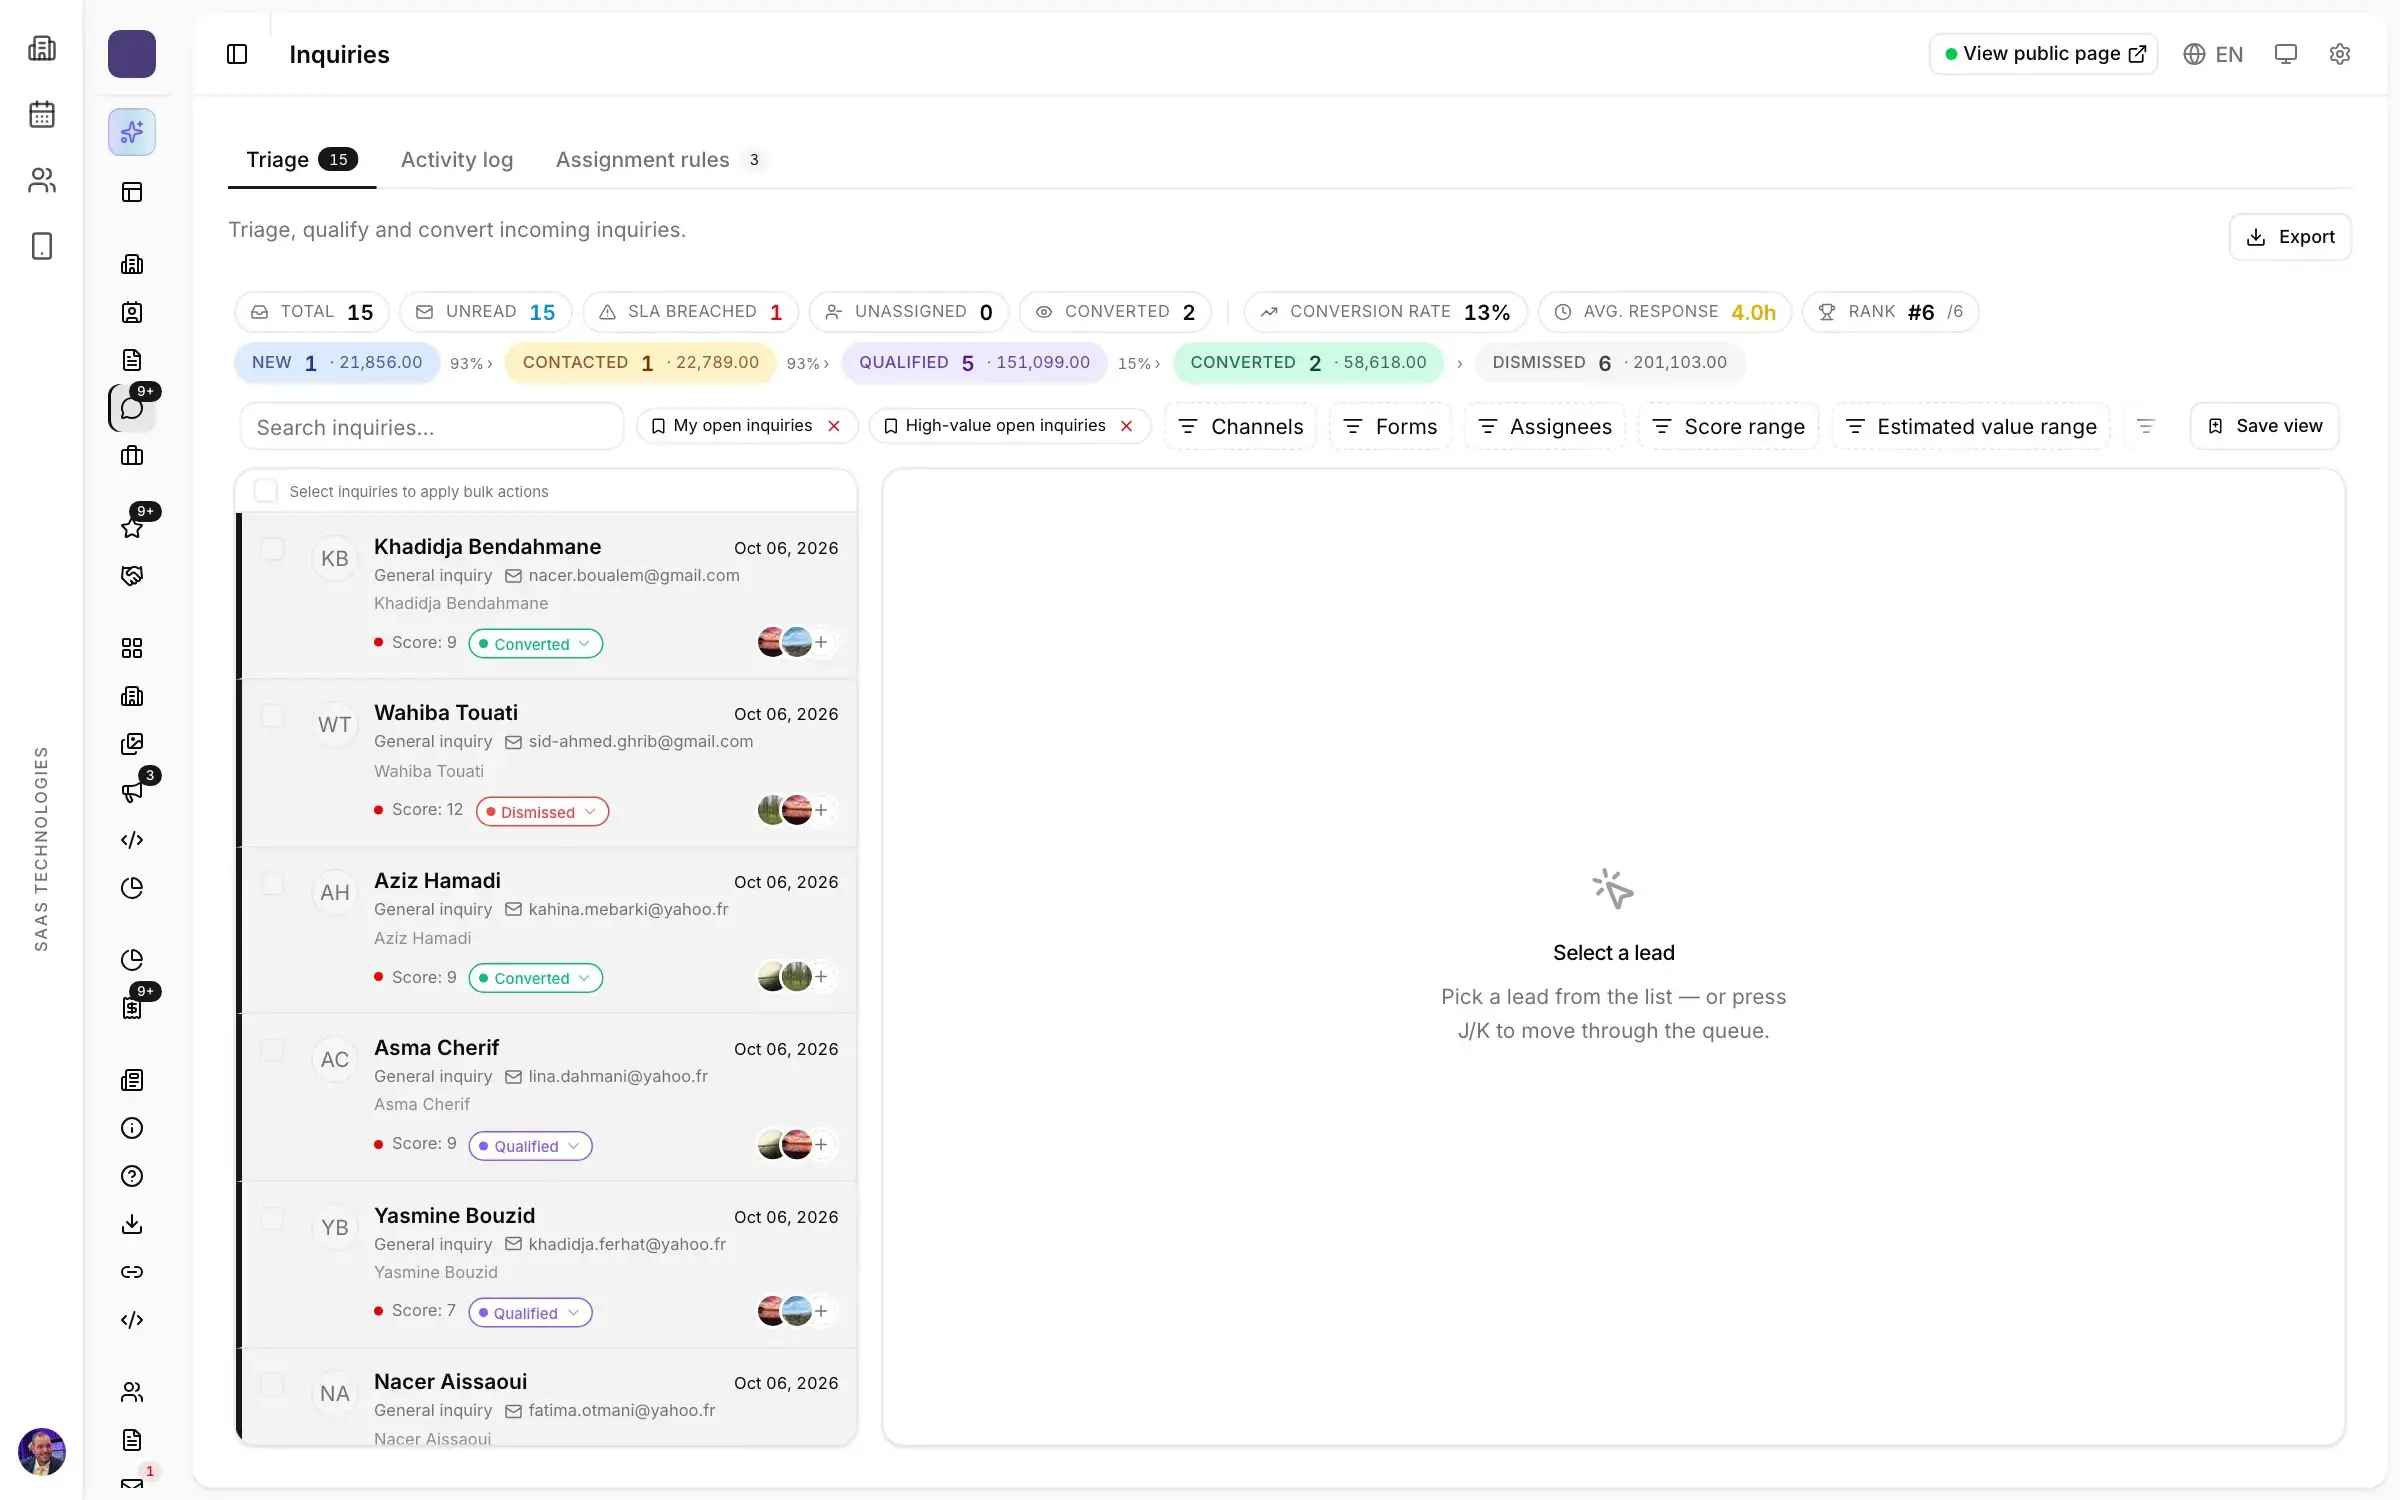
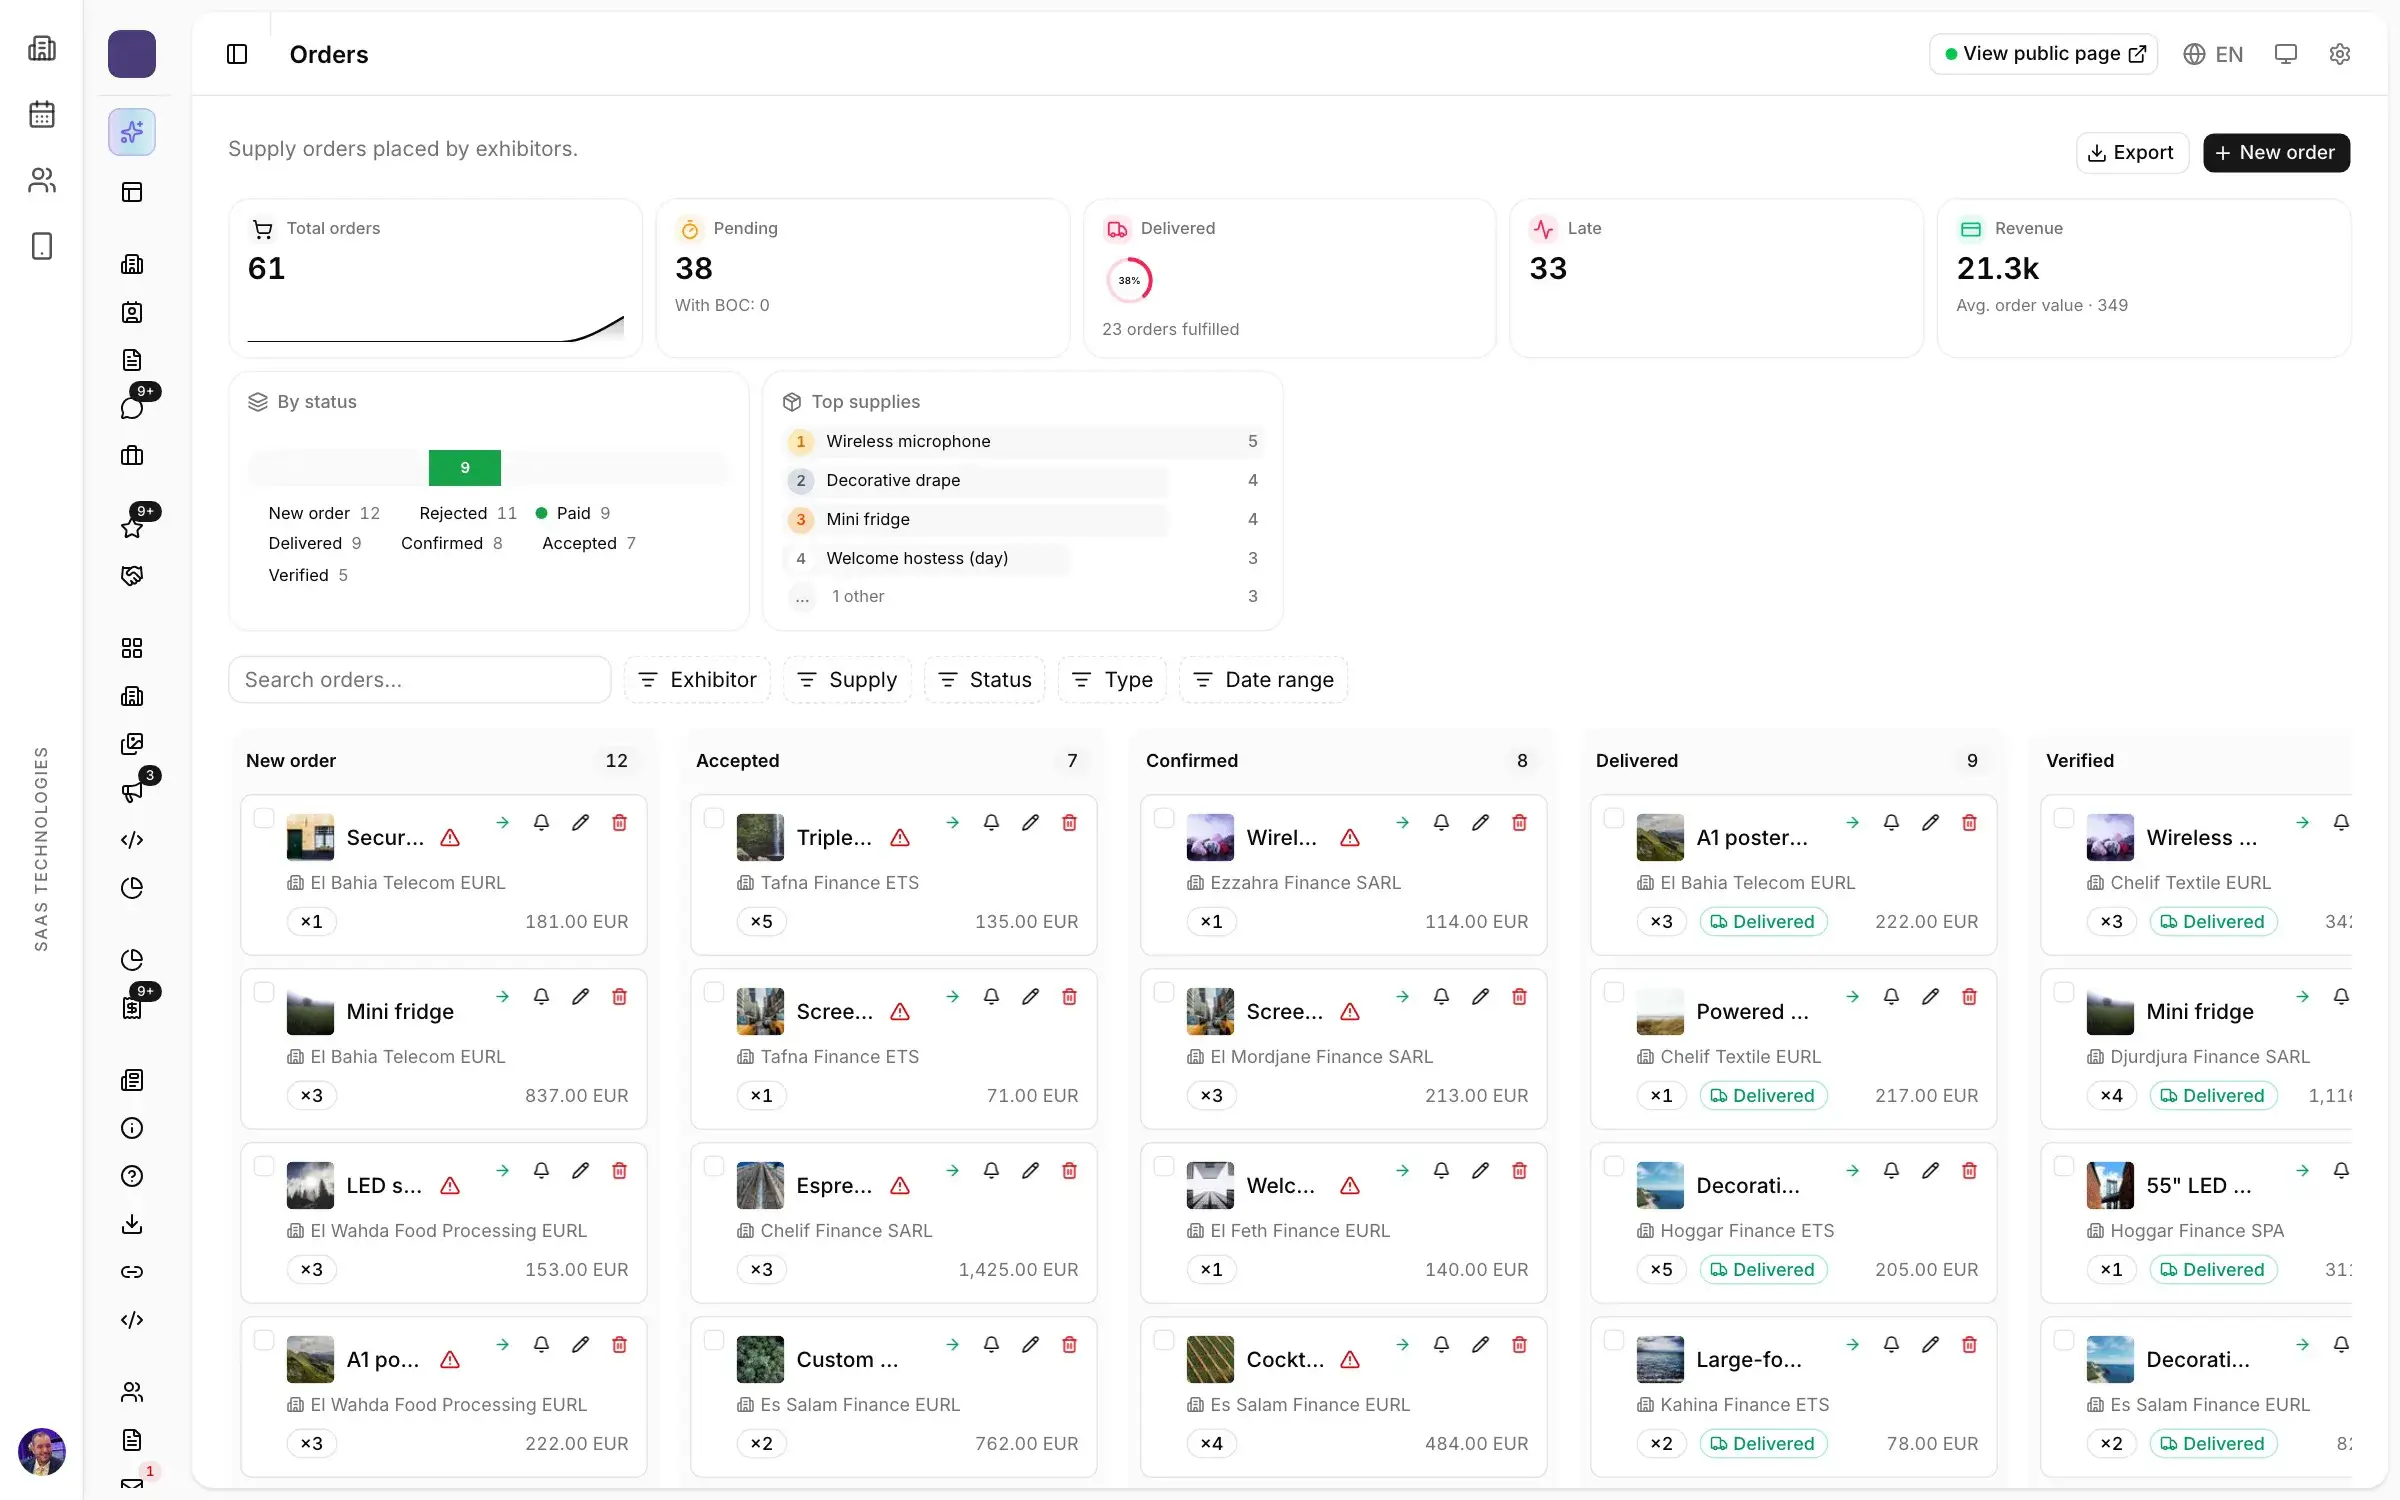
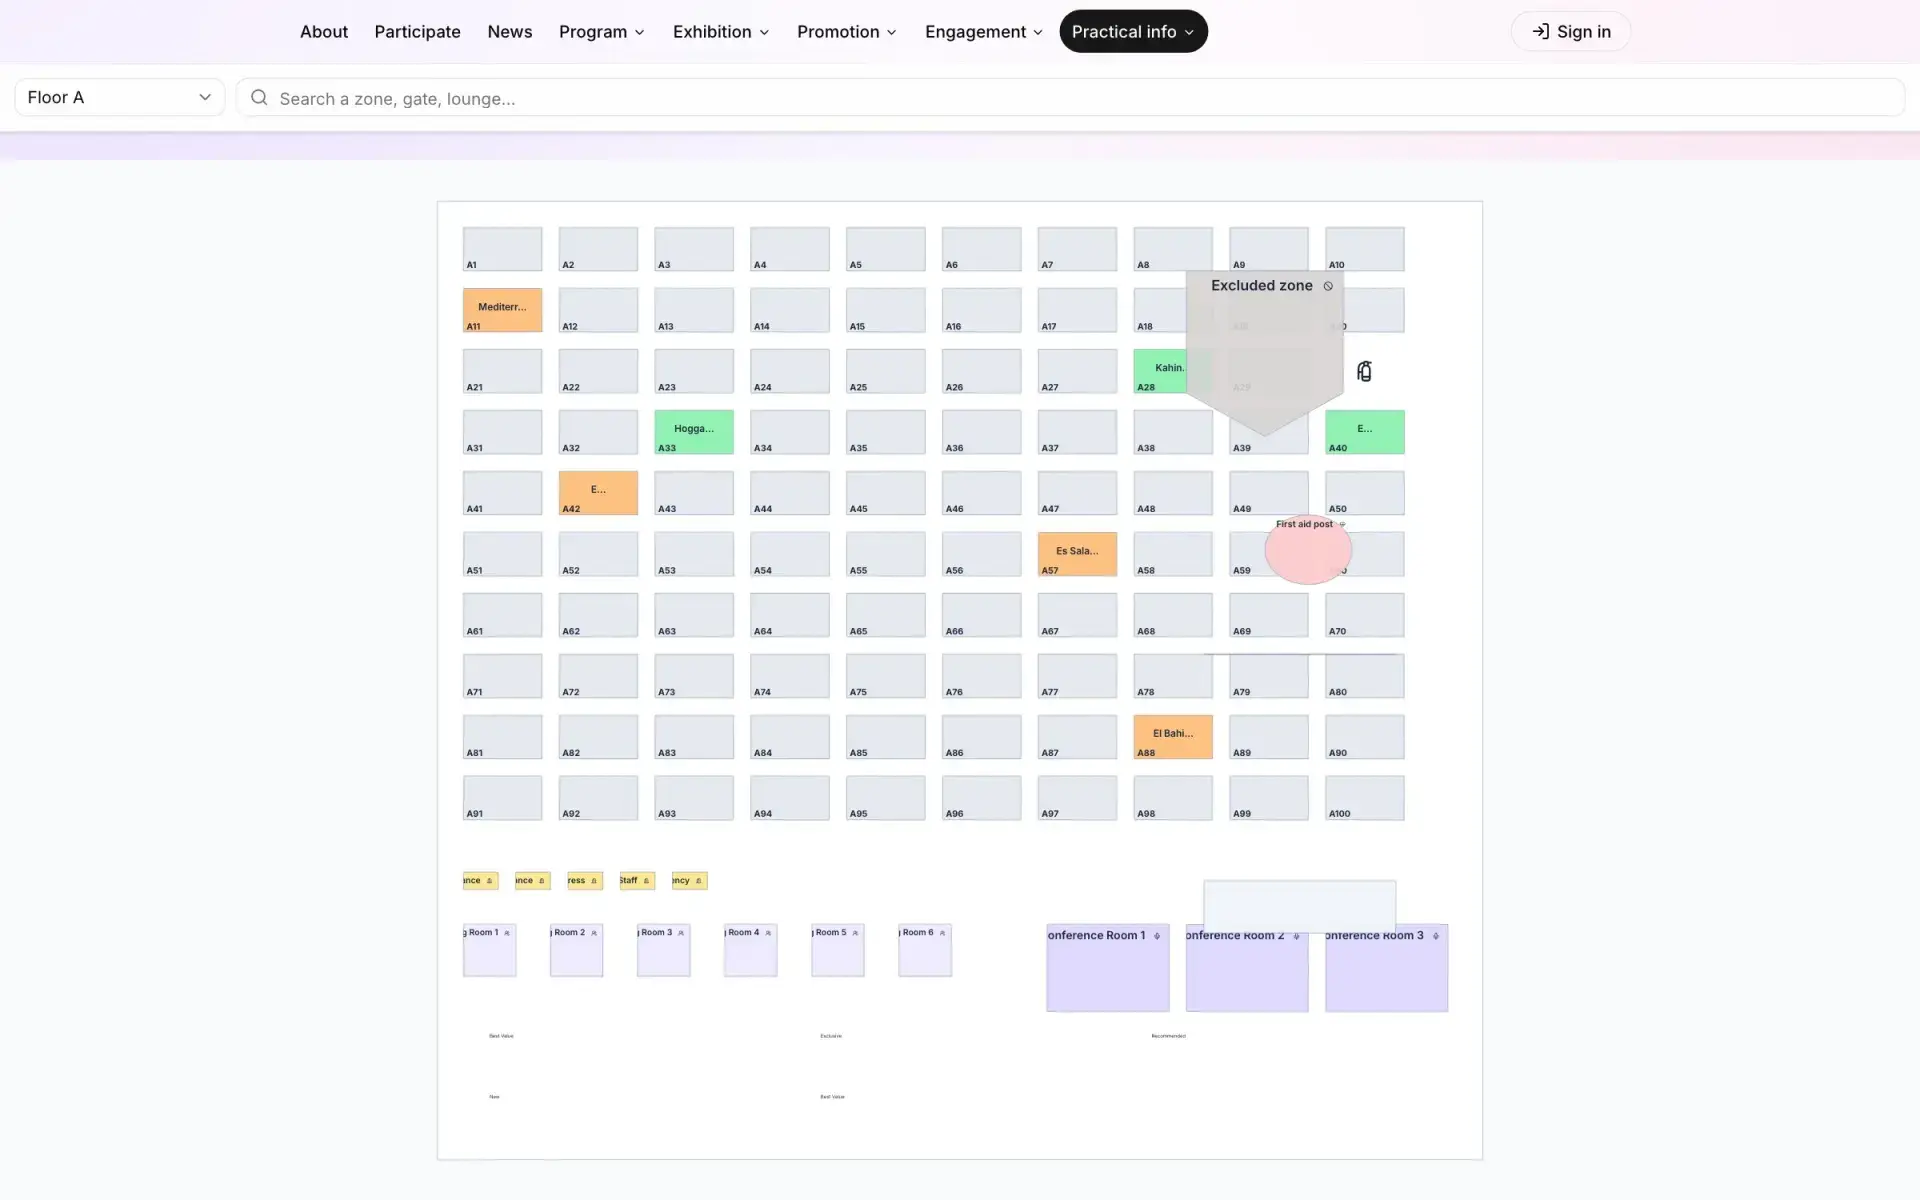
In Moultaka, our trade show floor plan software and stand sales module, you draw the halls, stands and aisles, then sell from the plan itself. Each stand shows its status, its exhibitor and its price, and every change is visible to the whole team at once. Once published, the plan lets visitors and prospects search a stand, zoom in and open the exhibitor behind it, and stand requests land in your sales queue. Safety approval stays with your venue.
With the plan ready, the next job is filling it: here is how to get exhibitors for an event. To see it on your own show, ask for a demo.